


How to add a scenery around your home
Do you want a room with a view or a beautiful scenery around your home? This smart tip is for you.
Changing the ground and the sky of the design
In Sweet Home 3D, the "scenery" is made of a grey ground and a blue sky by default.
You can change these settings with the dialog box shown by the 3D view > Modify 3D view menu item which proposes to set the color or the texture of the ground and the sky.
For example, if you select the following sunset texture (available among the additional texture libraries),

and if you select a grass texture for the ground,

you'll get the following result. Looks better, doesn't it?

Most of the time, the horizon around your home isn't fully flat and you might want to show a landscape that looks more realistic. Here are two ways to achieve this.
Importing a sky texture showing a landscape
The first solution consists of importing a sky texture that shows a landscape at the horizon. This kind of panorama images isn't easy to design but you can find some on the Internet at places like texturify.com where we used the Thombs in woods image for our example.
To get best results, the image imported in Sweet Home 3D should be between 2000 and 4000 pixels wide and show only the part of the image above the horizon. If you choose images at Texturify for example, be sure to download large images and not thumbnails, then reduce their size to 4000 pixels wide and keep the upper half of the image. These operations can be done with any image tool like Paint under Windows, Preview under Mac OS X or GIMP.
Once the texture image is ready, import it as a sky texture, following these steps: select the 3D view > Modify 3D view menu item, click on the Texture button of the sky, then on the Import button in the Sky texture dialog box.

Click on the Choose image button to select the file of your image (or drag and drop it into the wizard). When promtped, refuse to reduce the size in pixels of the imported image, otherwise the rendering of the scenery might look too blurred.

In the last step of the wizard, you don't need to change the size in real life of the image because this information isn't used for sky texturing.

Once you finished to import the sky texture, you'll get the following result.

According to the point of view, the ground may still occupy a big part of the 3D view, leading to a disappointing effect. It's because the sky texture starts at the horizon. But from an interior point of view, you may get nicer results as soon as the horizon is hidden. As this texture occupies the whole sky hemisphere, this solution is also interesting because you can use it for many different points of view.

Importing a wall texture
The other solution is to draw a wall showing a landscape image. The size of this wall and the image you'll show on it depends on what result you want to look for. If you just want to change the scenery viewed through a window, a small wall (or even a box) placed in front of the window will be enough. But if you want to view also your whole home in a larger scenery, you'll have to draw a large wall behind your home. Then, select the Plan > Modify walls menu item, set a high Height (1200 cm in our example), and possibly set a light Arc extent (this will give more possibilities to choose various points of view afterwards).

Again in the Modify walls dialog box, click on the Texture button of the side where you want your image to appear (probably on the Right side, if you draw it from left to right).

Import the image of your scenery, following the different steps of the Texture import wizard. In our example, we imported an image of the Mont Blanc (CC-BY Emmanuel Puybaret). In the second step of the wizard, choose a height equal to the wall height you previously set (1200 cm in our example).

Finally, confirm you choice.
Congratulations, the Mont Blanc appears through your window!

According to your needs, you may also change the ground color or texture and add a few trees. In case you want to hide temporarily the wall showing the scenery, you may cut / paste it to a new level at the same elevation as Level 0 and make that level unviewable.
If you want to compute a photo rendering at the two best quality levels, the main drawback of this solution comes from the management of lights: you'll have to carefully place lights to avoid shadows on the wall used for the scenery, and as sunlight won't be able to go through that wall, you'll be limited if you want to view the sunlight effect in your home. In that case, using a scenery image at night might simplify the problem.

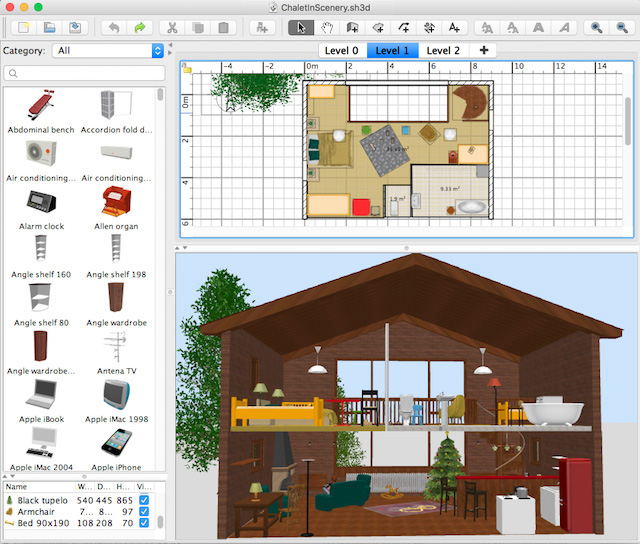
If you're interested, the home created in this tip is available in the file ChaletInScenery.sh3d (12.4 MB - designed by eTeks and distributed under CC-BY license). You might also be interested in the forum by some users experiments and this interesting way to adapt a sky texture to your needs.
Happy New Year to everyone! 


